

A DIY home facial is where self-care and stunning skin collide.
We’re the first to admit that buying a luxe skincare treat or cult makeup prod sometimes takes precedence over life admin costs. But most of the time, adulting means making your budget a priority, and salon or spa treatments of the pure indulgence kind, regrettably, don’t often come near to, you know, paying the rent or food bill each week.
The solution? Punch FOMO in the face by recreating the vibe at your place. We’re big on a thing we like to call ‘selfcare spa Sunday’. By all means hit up the professionals when you can, but taking some chill time to wrap yourself in a fluffy robe, light a candle and pop on a face mask feels like pushing the reset button on your week.
WHERE TO START
Sunday afternoon or evening seems like the ideal time to get amongst. Because life is a little slower, you can undo any skincare sins that might have recently been committed (big nights out or sleeping in makeup) and get the glow going in time to crack into the week.
Start by prepping your place for minimal interruption and getting everything you need to create a calm sanctuary. If that means popping on some episodes of MAFS, you do you, boo. Brew some tea, put on some accommodating clothes and undertake a facial as well as any other body admin, such as hair removal, mani-pedi or tan. Your facial routine can involve as many or as few steps as you’re up for but the rule of thumb is to apply thinner products before thicker ones, to allow them to really penetrate the skin and work their magic.
DOUBLE CLEANSE
Sure, you can wipe your eyes with micellar and call it a day, but taking it up a notch will really show on your skin, and the idea of this ritual is to go deep at least once a week. A double cleanse first removes makeup and surface debris and then enables you to treat the top layer of skin and clear pores.
Step one: Apply a liquid or balm oil cleanser and massage over skin and around the eye area to break up makeup before adding a splash of water to emulsify. Massage again and rinse away.
Step two: Smooth on a creamy or foamy water-based cleanser to whisk away any remaining residue and gently clean skin.
WATCH: Are You Making These Common Cleansing Mistakes?
EXFOLIATE/TONE
If you skip this step during the week, it’s really helpful to include now, as it removes any lingering dead skin cells that naturally come loose and shed, and reveals fresh new skin beneath. Choose one that has very fine physical particles so it won’t irritate skin, or go with one of the new breed of acid toners. These use gentle (usually fruit- or sugar-derived) acids to dissolve the ‘glue’ that holds skin cells together, taking only the very top layer, to reveal fresher, brighter and more even-toned skin. Glycolic, lactic and salycilic acids are the stars of this show.
Another option is to spritz a calming toner on your clean skin. This balances pH and binds the moisture in before you add a thicker product.
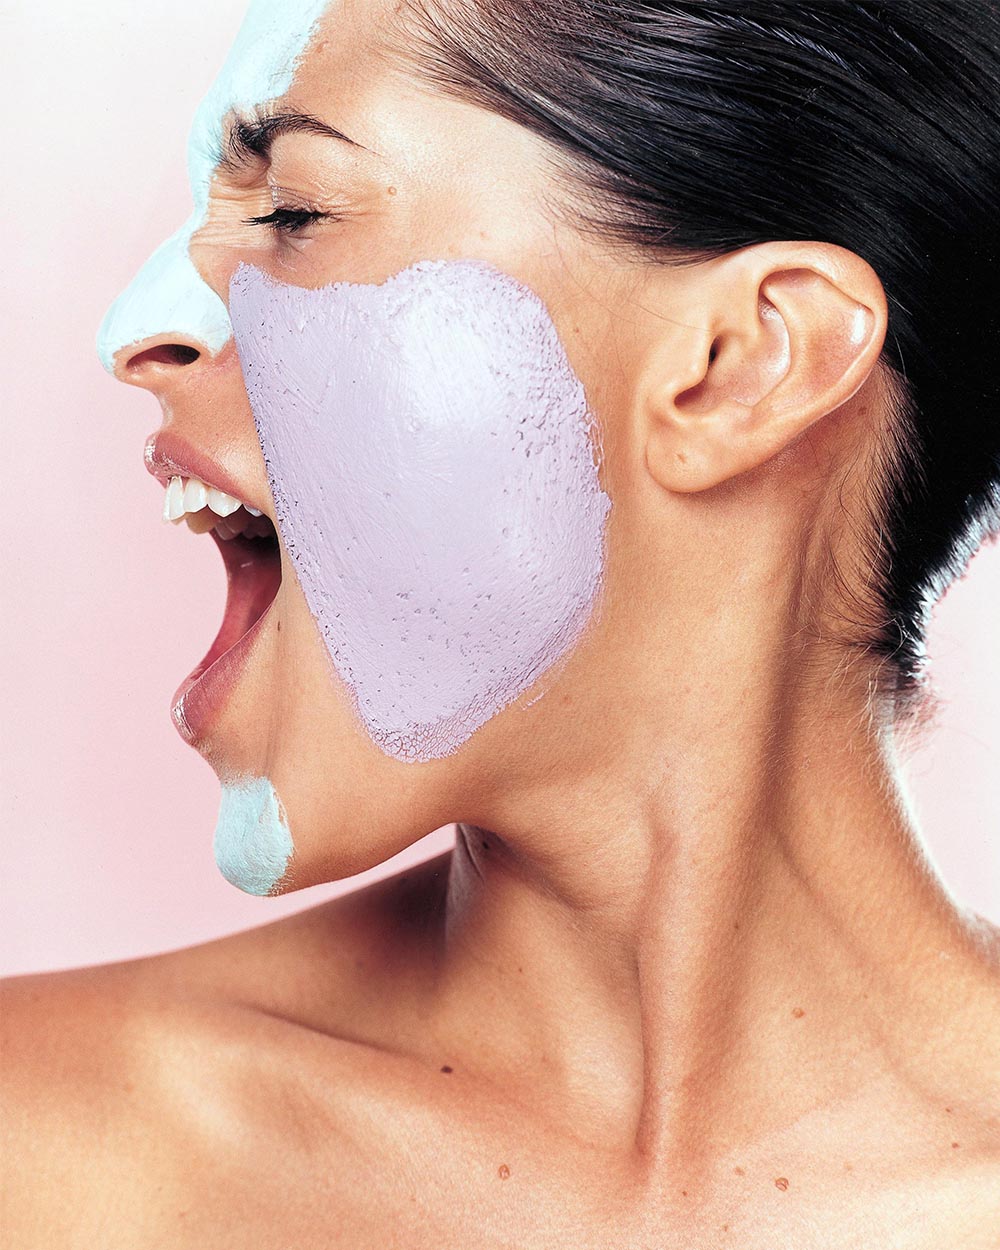
MASK
Pick a mask that treats your particular skin type or concern, and if you’re not sure, choose a hydrating one that’s like giving skin a tall drink of water. Your cheat sheet — gel or liquid hyaluronic acid-based sheet masks: hydrating; charcoal: detoxifying and pore clearing; clay: calming, clearing, pore minimising and oil control.
TREAT
If required, your serum or targeted spot treatment goes on next. Hydrating serums and oils are great for giving your complexion a healthy glow but they aren’t essential. They can however, give you some extra help to treat the issues you are most concerned about, such as acne, pigmentation, large pores or dullness.
MOISTURISE
The last step in sealing in all of the hard work you’ve just undertaken. Hydration is a non-negotiable if you want healthy, happy skin so smooth on a day or night cream or hydrating face oil. If you’ve skipped the mask step, you could apply a gel or cream moisturiser in a slightly thicker layer and let it sink in, or tissue off any excess after 10 minutes or so. If you’re going out in the sun again afterwards, don’t forget to apply SPF on top.
WHEN TO CONSULT A PROFESSIONAL
If you have a lingering niggle and nothing’s working, or you feel overwhelmed with options and don’t know where to start, a visit to a skin professional in salon or at a counter is a good idea. They work with skin every day, so they’re familiar with the cause and effect of many issues. The good thing is that experts who truly have your best interests at heart will take on board your current situation and budget, perhaps helping to make your home-care regime the best it can be, even if you can’t afford to undergo professional
grade treatments.
Words: Megan Bedford
Photos: Getty Images
This article originally appeared in Miss FQ Issue 1, 2018.