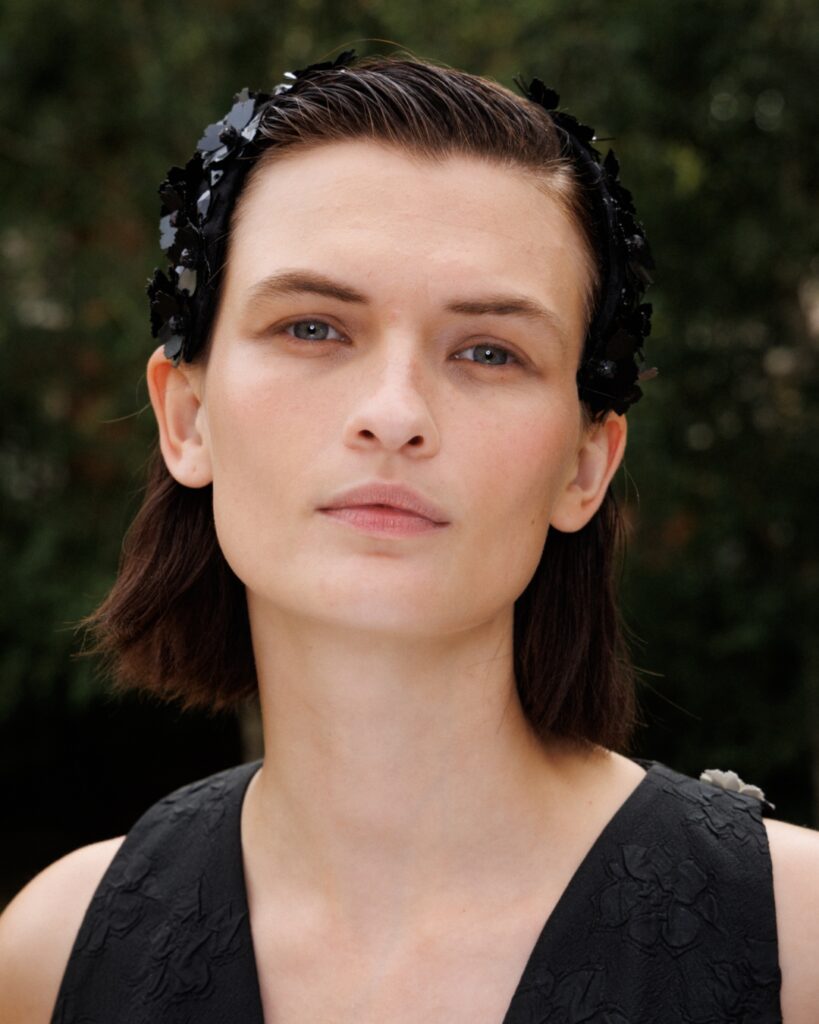
Morning Dew: choosing the right finish
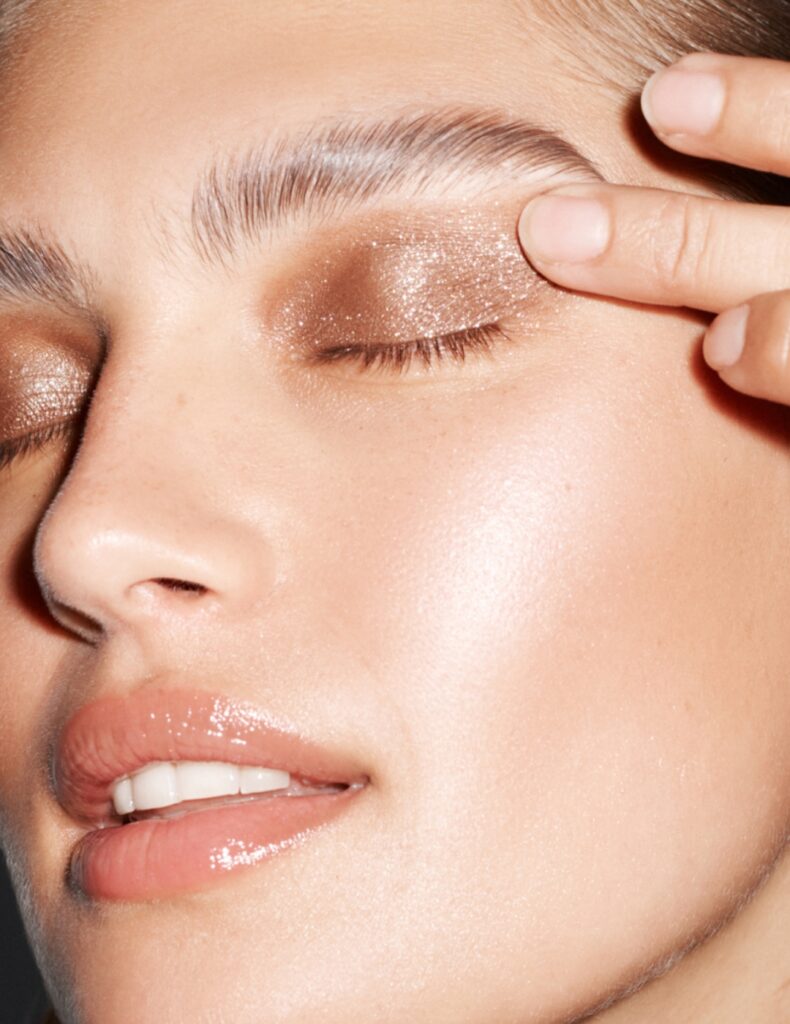
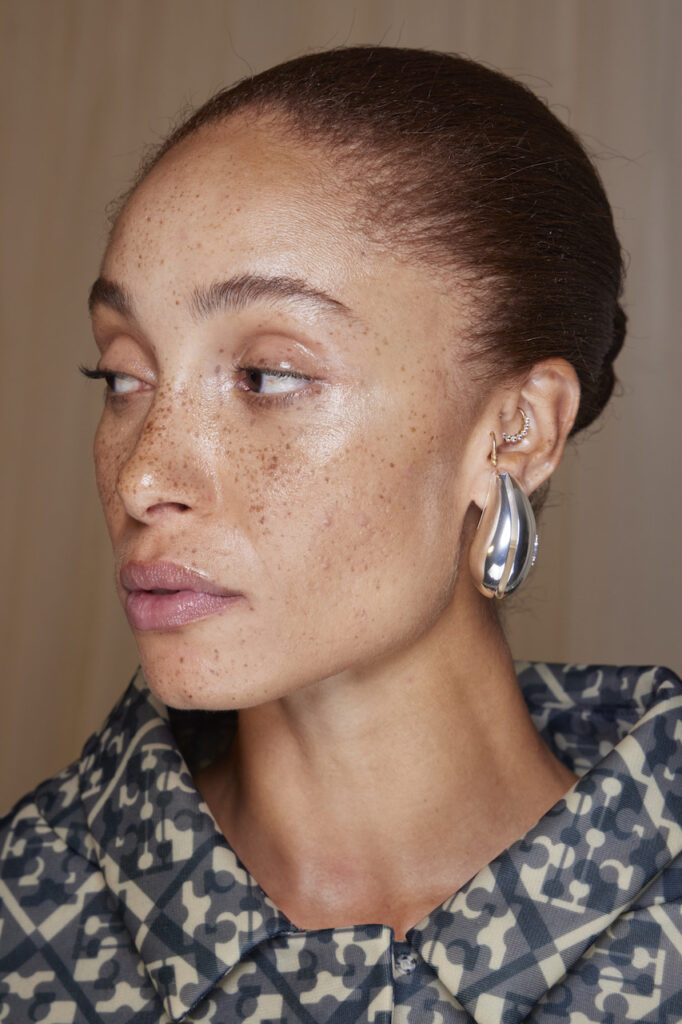
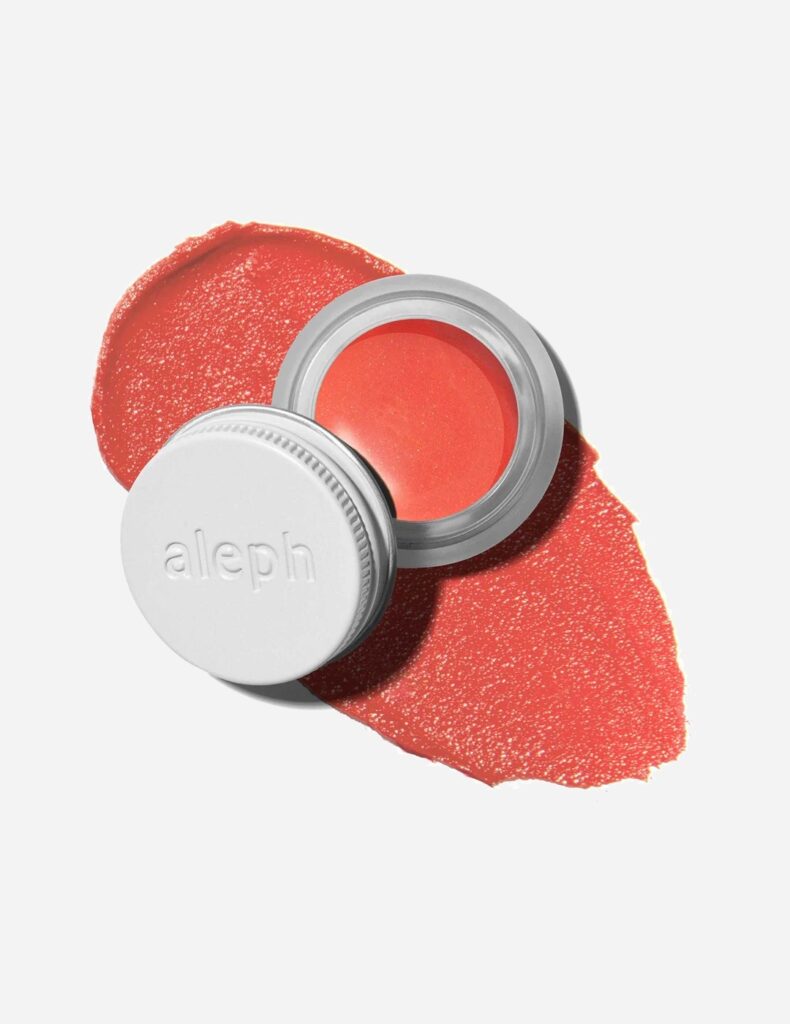
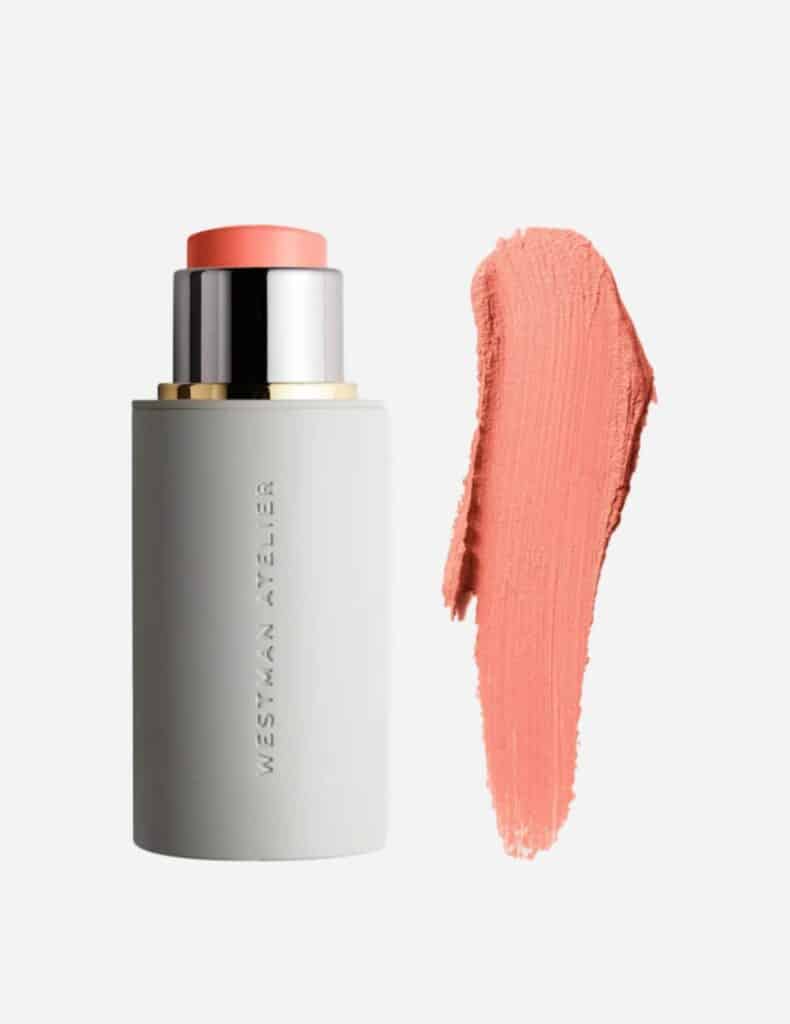
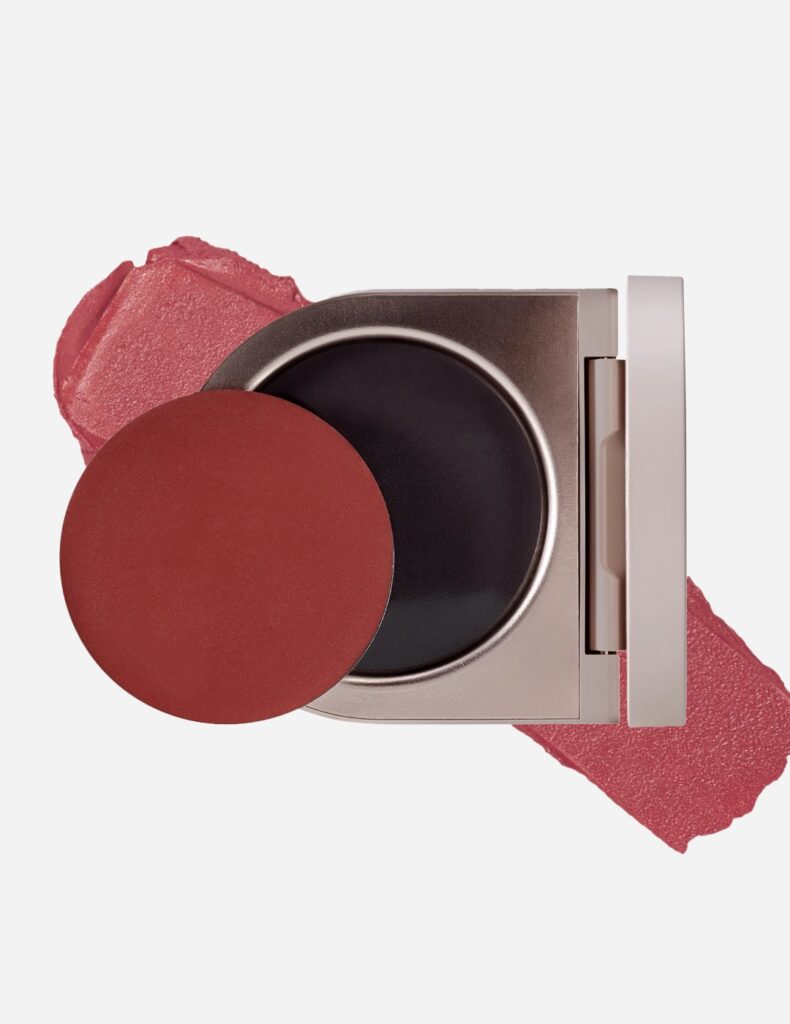
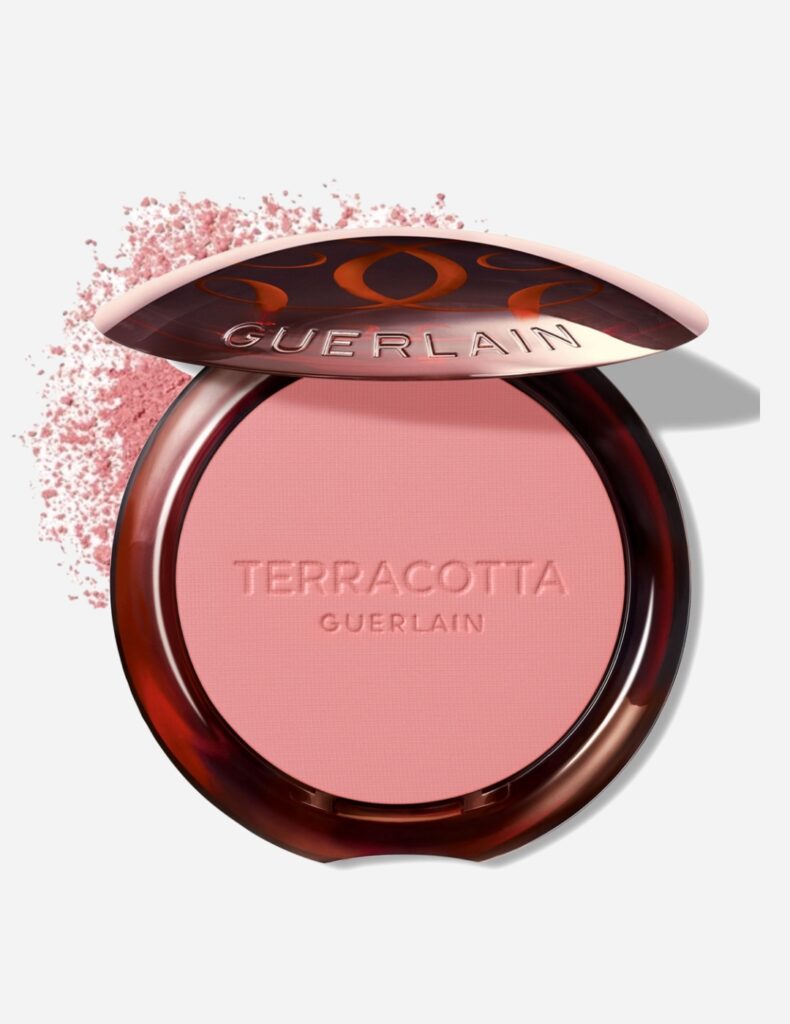
Fresh, healthy-looking skin is something many of us strive for. How you take care of your complexion is paramount, but if you want to add a little oomph, a glow-getting blush is what you need. For the most skin-like finish, opt for a cream blush. These are my personal favourites as they tend to melt into the skin, giving the impression of a natural flush, as opposed to a powered blush that sits on top of the skin. For a seamless finish, apply in a tapping motion with your fingers.
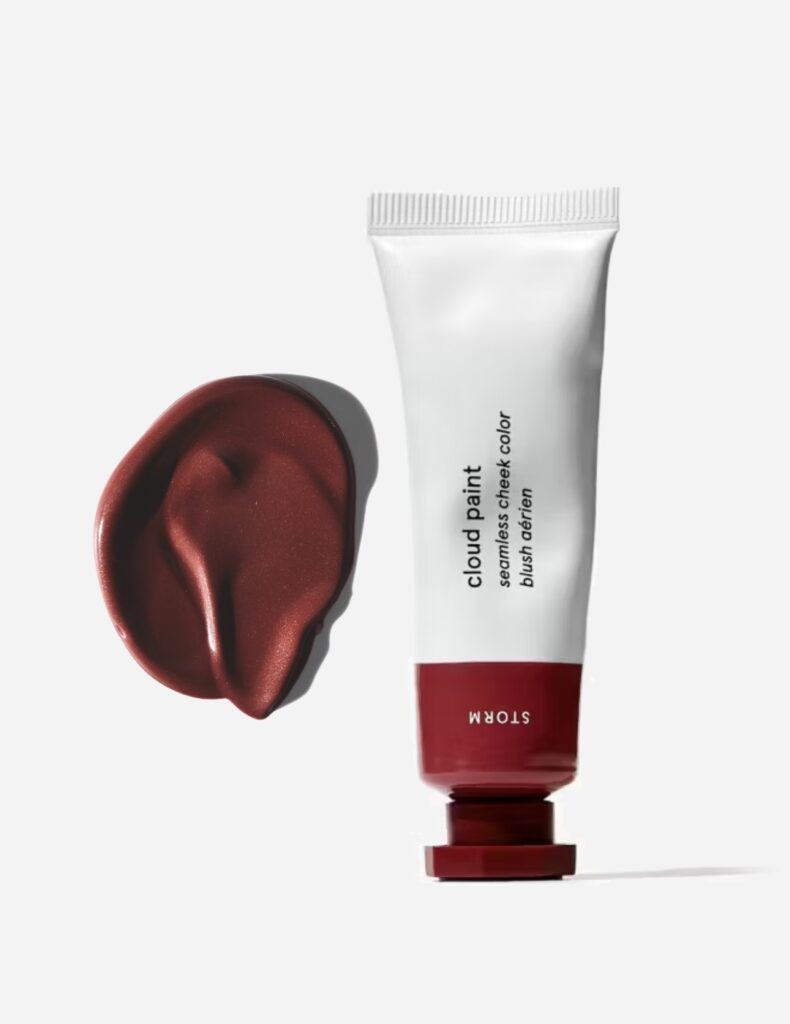
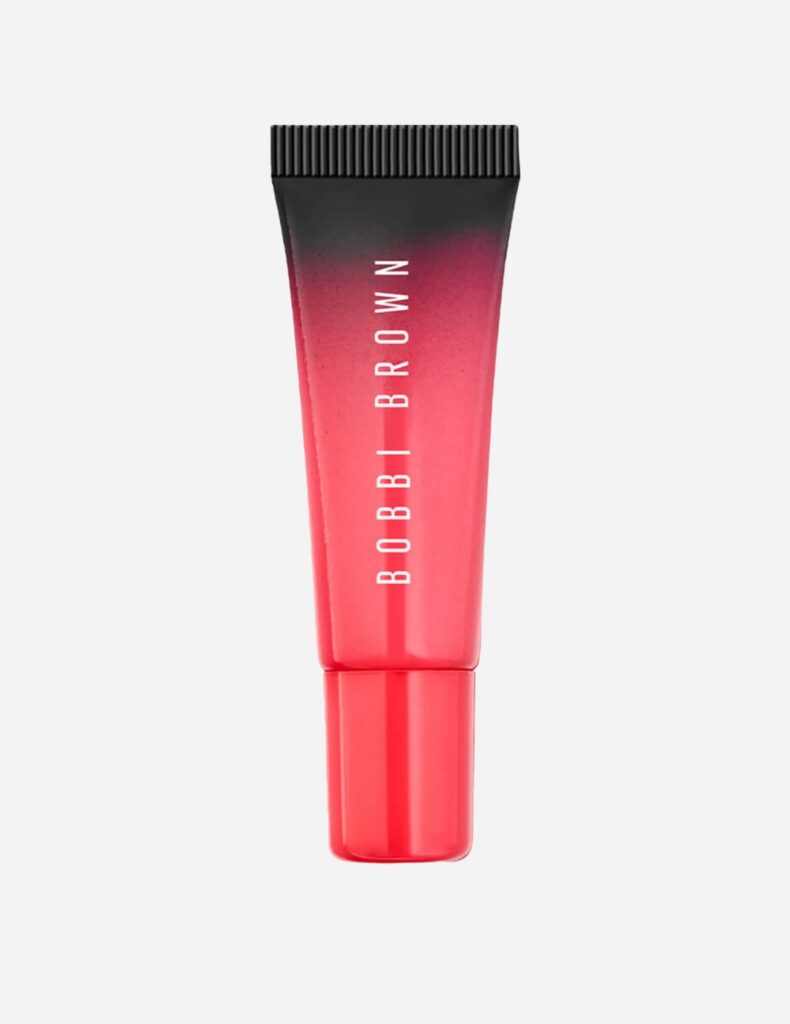
Sarah's top blush picks:
Draping: where to apply your blush
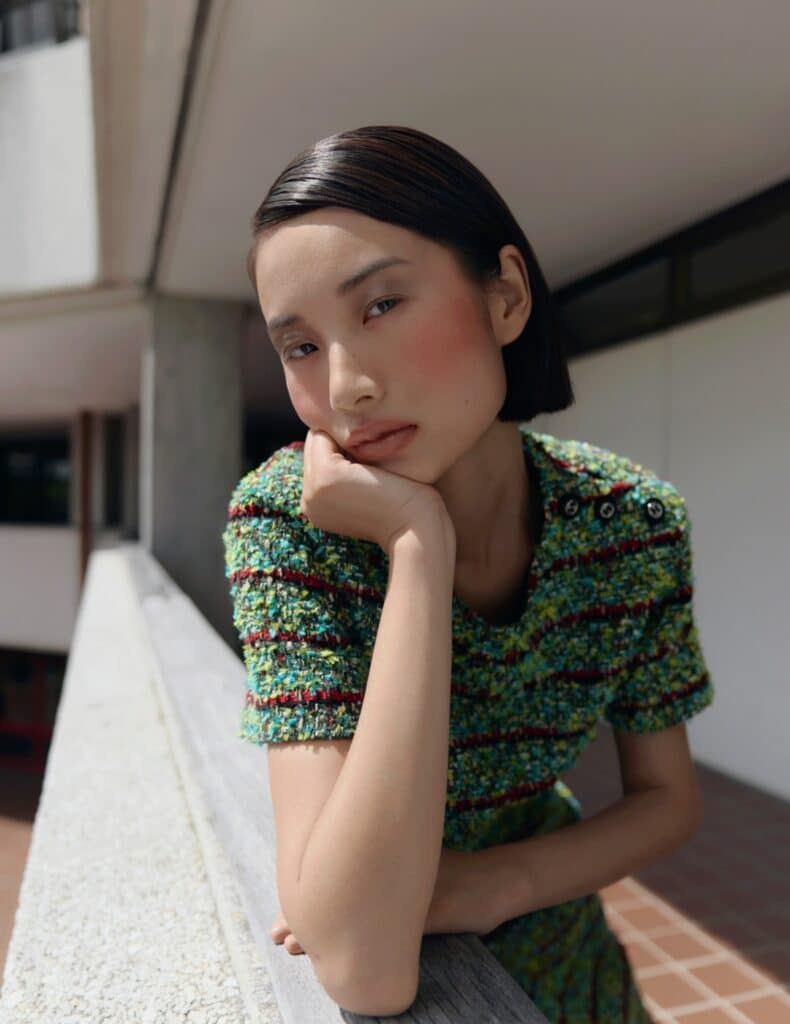
Most of us have been taught the correct placement for blush is on the apples of the cheeks. While this is still generally considered the best approach, the trend of “draping” can turn this theory on its head. To successfully drape your blush, you need to start from where you’d usually place the highlighter (i.e. at the highest point of the cheekbone). Begin at the outer half of your cheek and drag the pigment upwards along the temple. If successful, this will give your cheekbones a lifted look. Make sure you then blend towards the brow.
Sunset Tones: choosing the right colours
A minimalist rosy hue will always work, but if you want to make more of a statement this season, opt for a sunset-inspired palette. We’ve seen this all over social media with the “strawberry girl” and “tomato girl” trends (thanks to beauty entrepreneur Hailey Bieber), which have established shades like burnt orange, raspberry pink and cherry red as the colours du jour.
Tonal Time: investing in a multi-purpose blush
Many lip and cheek products are interchangeable, which can save you not only time, but also money. A hybrid product is the easiest way to achieve a tonal look. Simply dab excess lip product onto your cheeks or vice versa. Trust us, the cohesion it delivers will be worth it.
Layer Up: create depth using multiple formulas
Both liquid and cream formulas are easy to mix and layer. To attempt an ombre blush (which will add dimension and depth) you can use a lighter shade in the centre and then apply a darker shade above that. Next, blend both shades together using upward strokes.
Words: Sarah Murray
Images: Holly Sarah Burgess. Supplied.


